How to Assemble a Montessori Wooden Bed Frame
In recent years, the Montessori Method of child upbringing has become increasingly popular, with a major component being the type of furniture we use for our children. One popular choice is a Montessori bed, often a low, floor-level bed made from natural materials. This promotes your child's independence and ensures their safety as they explore their surroundings.
In this blog post, we will guide you step-by-step on how to assemble the KitSmart Montessori wooden bed frame made from the high-quality solid New Zealand Pine.
Step 1: Review Your Set
First and foremost, ensure you have received your complete set. Your set should contain all parts necessary for the bed assembly: boards, tools, screws, and bed slats. Do a quick inventory check to ensure you have all the pieces and familiarize yourself with the components.

Step 2: Connect The Boards
Locate the boards that form the frame of the bed. These boards should slide into their corresponding slots easily. Once the boards are in the correct positions, secure them using the provided screws. Make sure to tighten them well for stability.

Step 3: Install The Slats
Now it's time to place the slats in their slots. It's best to start from the middle and work your way out towards the sides.

Step 4: Secure The Slats
Next, you'll need to secure the slats using screws in the predrilled holes. Screw two slats on each side to create a stable base for the mattress.

The frame is ready to use!

Step 5: Attach The High Rails
With the frame and slats secured, you can now add the high rails. Start with the front sections. These rails provide extra security for your child while sleeping, and they also give the bed its unique Montessori look.

Step 6: Connect The Side Rails
Now, move on to attaching the side rails. These should be connected to the front sections and screwed with bolts in the corners. Make sure all rails are secure to ensure the safety of your child.


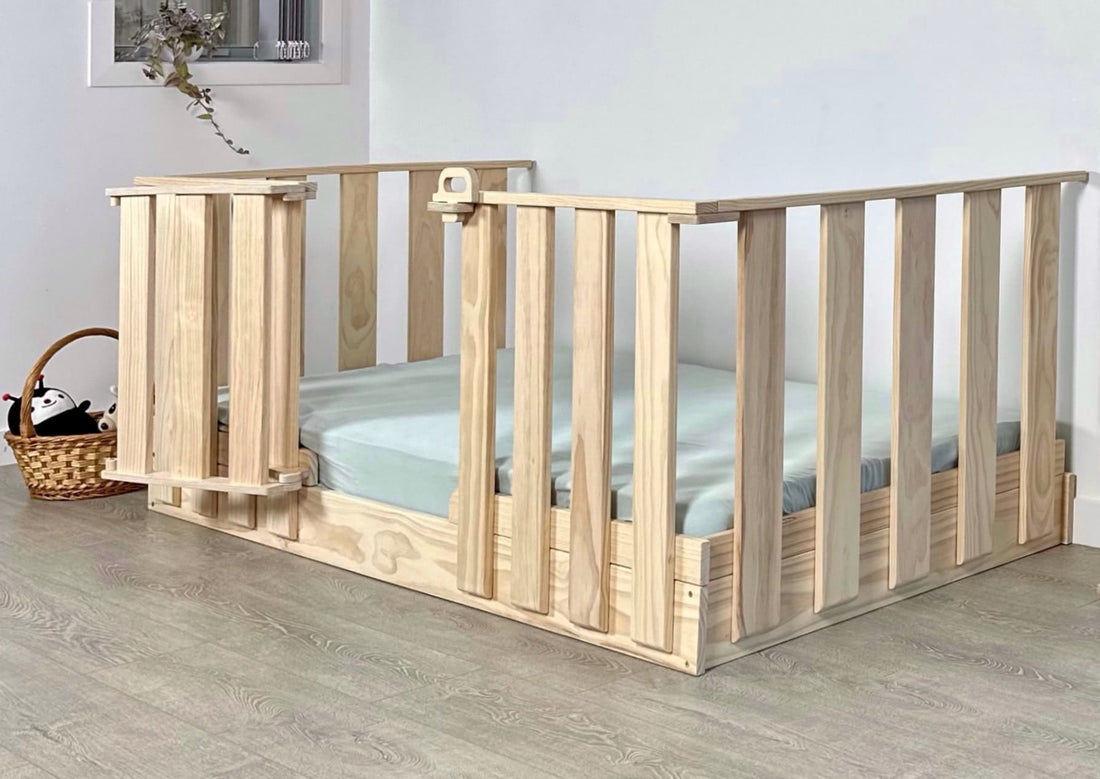
Step 7: Add The Gate
The bed gate is an optional but functional addition to the bed. Depending on your needs and the layout of your child's room, the gate can be hung on either the left or right side. This gate can act as an additional safeguard, especially for younger children.


Step 8: Place The Mattress
Finally, once you've assembled the bed, it's time to place the mattress. Choose a mattress that fits the dimensions of your assembled bed, as an incorrect size can create gaps that may pose safety risks.
And voila! Your child's Montessori bed is ready. Enjoy the process, and here's to many nights of good sleep in your child's new Montessori bed!
